

GIMP (GNU Image Manipulation Program) is a free and open-source raster graphics editor used for image retouching and editing, free-form drawing, converting between different image formats, and more specialized tasks.
GIMP is released under GPLv3+ licenses and is available for Linux, macOS, and Microsoft Windows.
(source Wikipedia)
In this guide I show you how to create a heart with GIMP, following simple steps.
Note: This tutorial is inspired by Easy Heart Tutorial
Steps
1. Open GIMP
2. Create a new image pressing Ctrl N
3. Create a square
4. Create 2 guide lines (Image > Guides > New Guide) one horizontal and one vertical and match them in the center of the image. 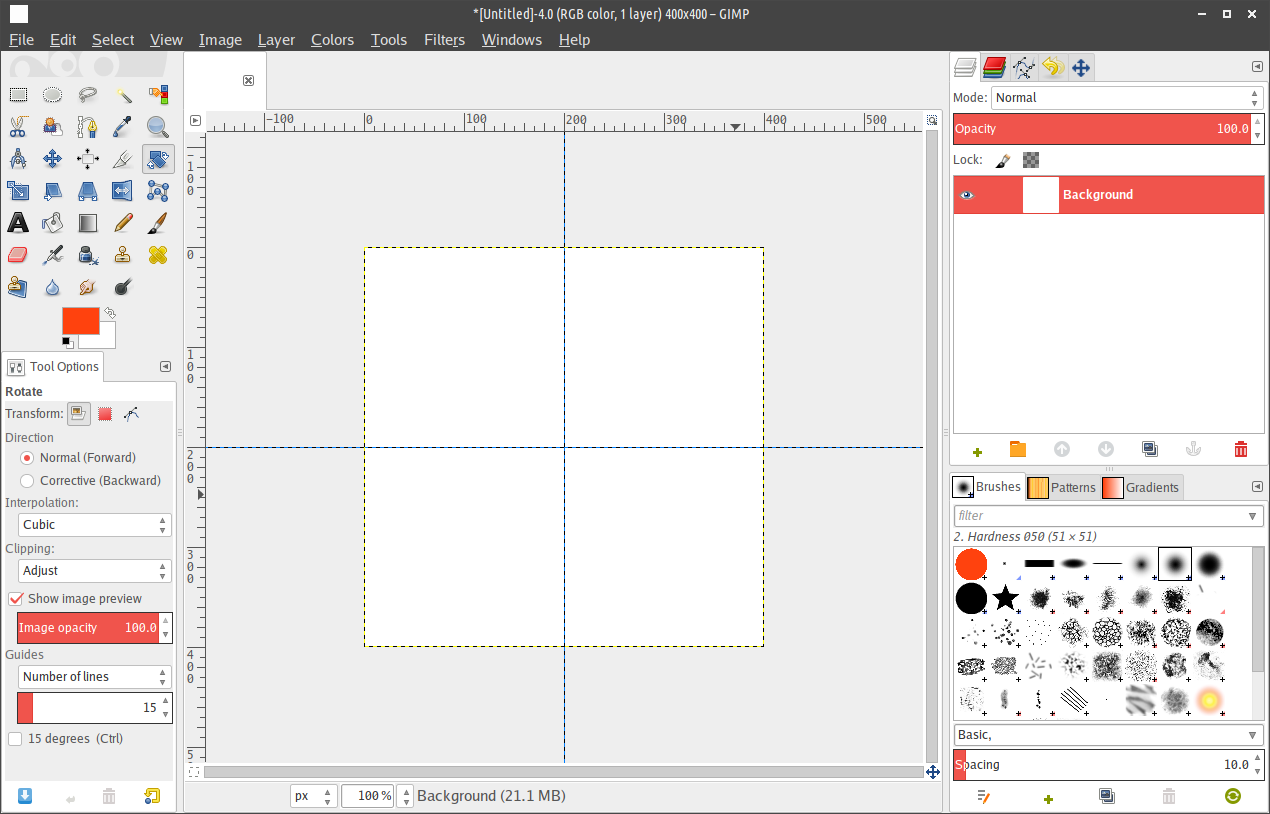
5. Press Ctrl Shift N to create a new transparent layer.
6. Press R to activate the rectangle selection tool.
7. In the Tool Options, check the “Expand from center” and “Fixed: Aspect ratio” options. 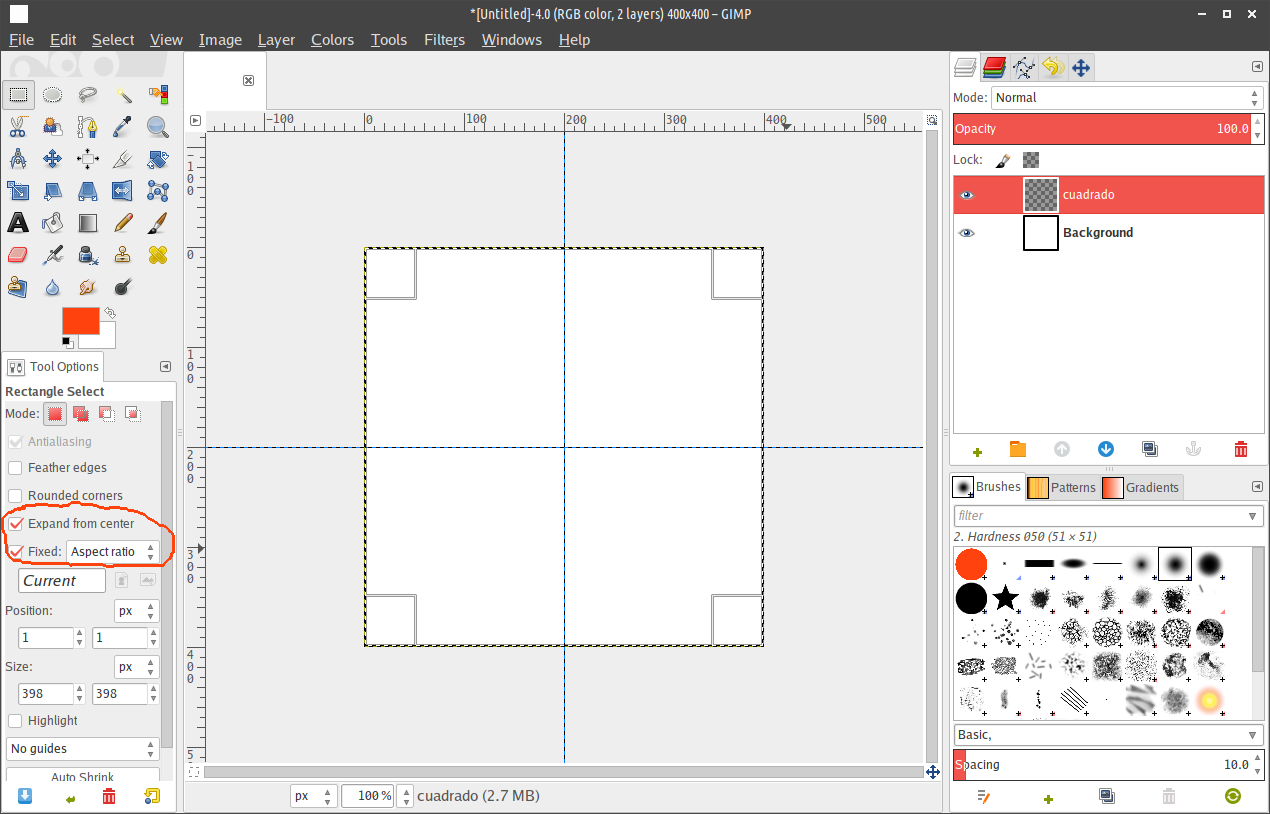 8. Match the rectangle and the image size.
9. Select a foreground color, for example: #ff420e.
10. Press Shift B to activate the Bucket Fill tool
11. Click on the rectangle to fill it. 12. Repeat 4.
13. Press E to activate the elliptical selection tool.
14. Repeat 6.
15. Match the circle and the image size.
16. Repeat 9.
17. Click on the circle to fill it.
18. Press Ctrl Shift D to duplicate the circle layer. 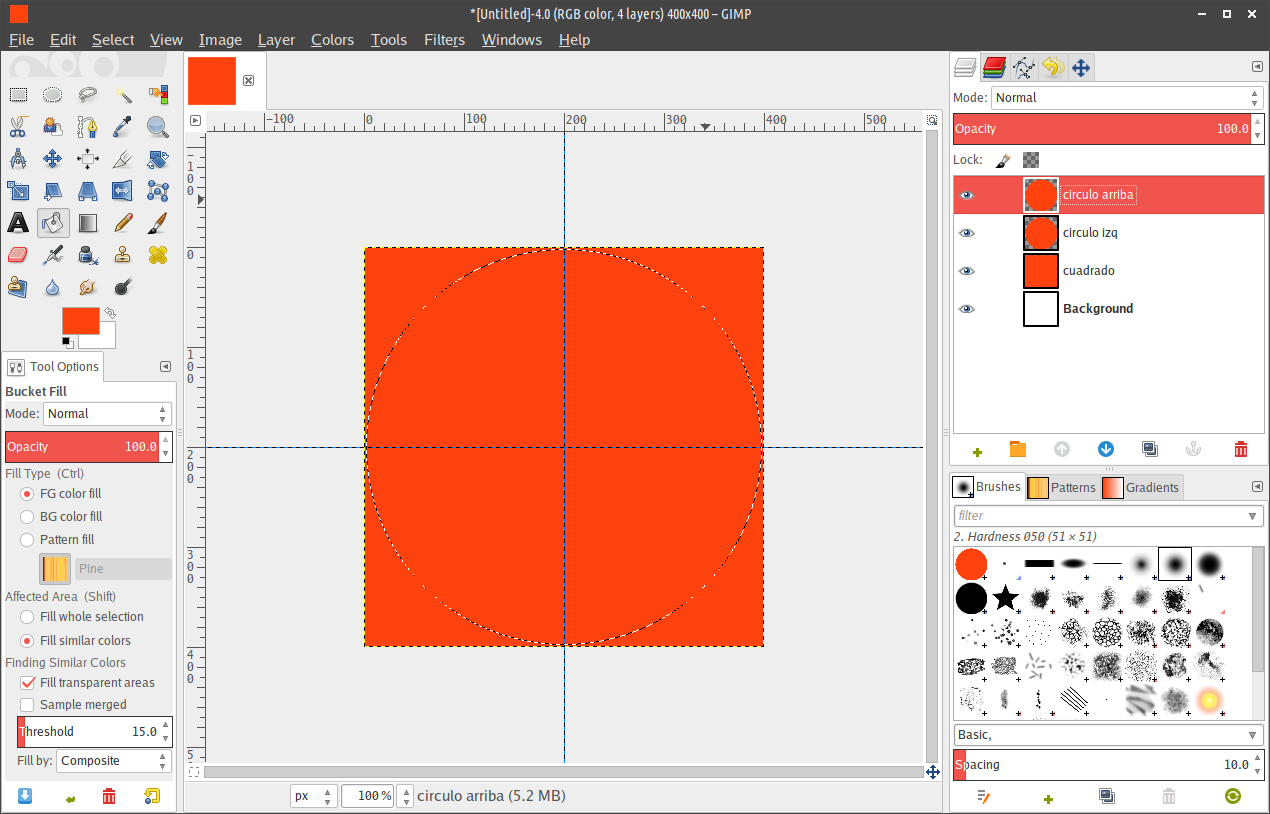 19. Press M to activate the move layer and selection tool.
20. Move the circle layer up 50% up.
21. Move the left circle layer 50% to the left.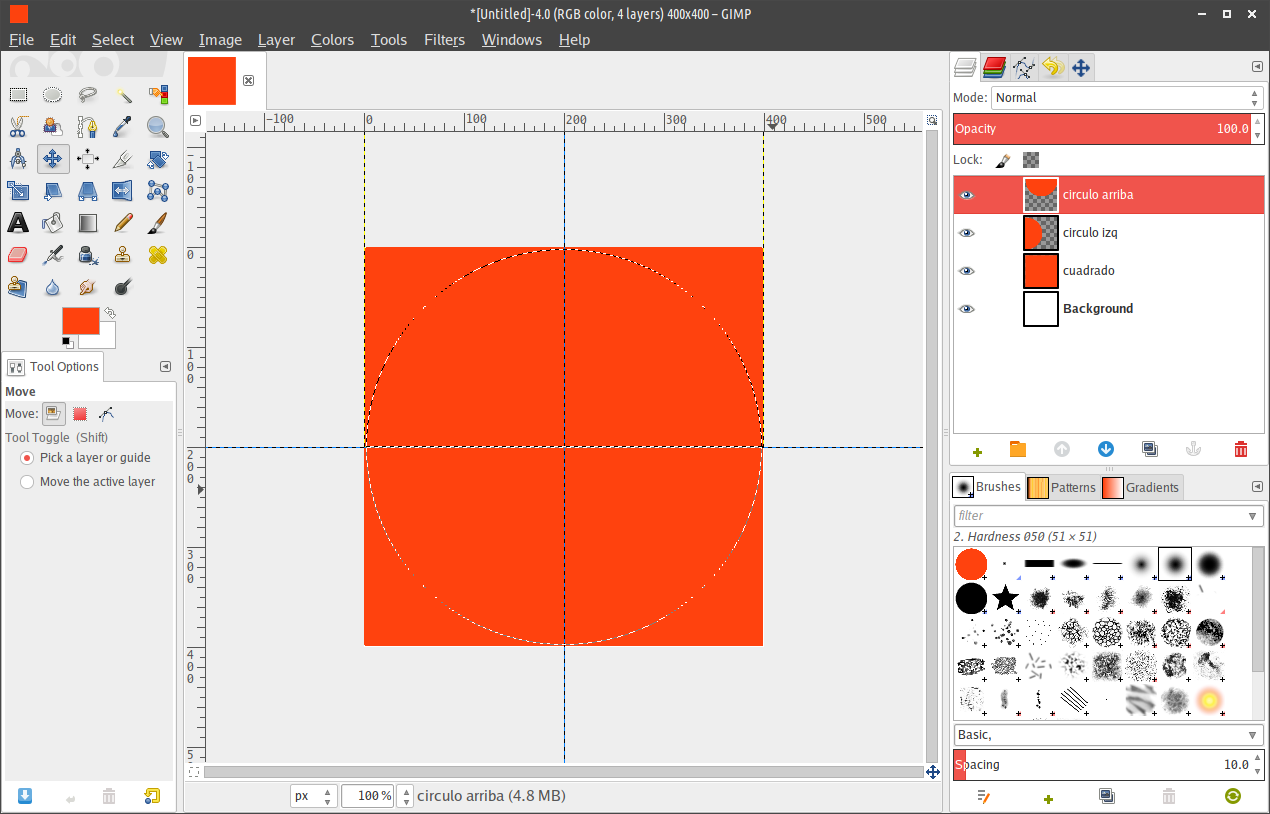 22. Press Shift Ctrl A to turn off selection.
23. Menu Layer > Merge Down, repeat 3 times.
24. Press Shift R to activate the rotate tool.
25. Rotate 45 degrees.
26. Menu Image > Fit Canvas to Layer.
27. Menu Image > Flatten image.
28. Image Menu > Autocrop image. 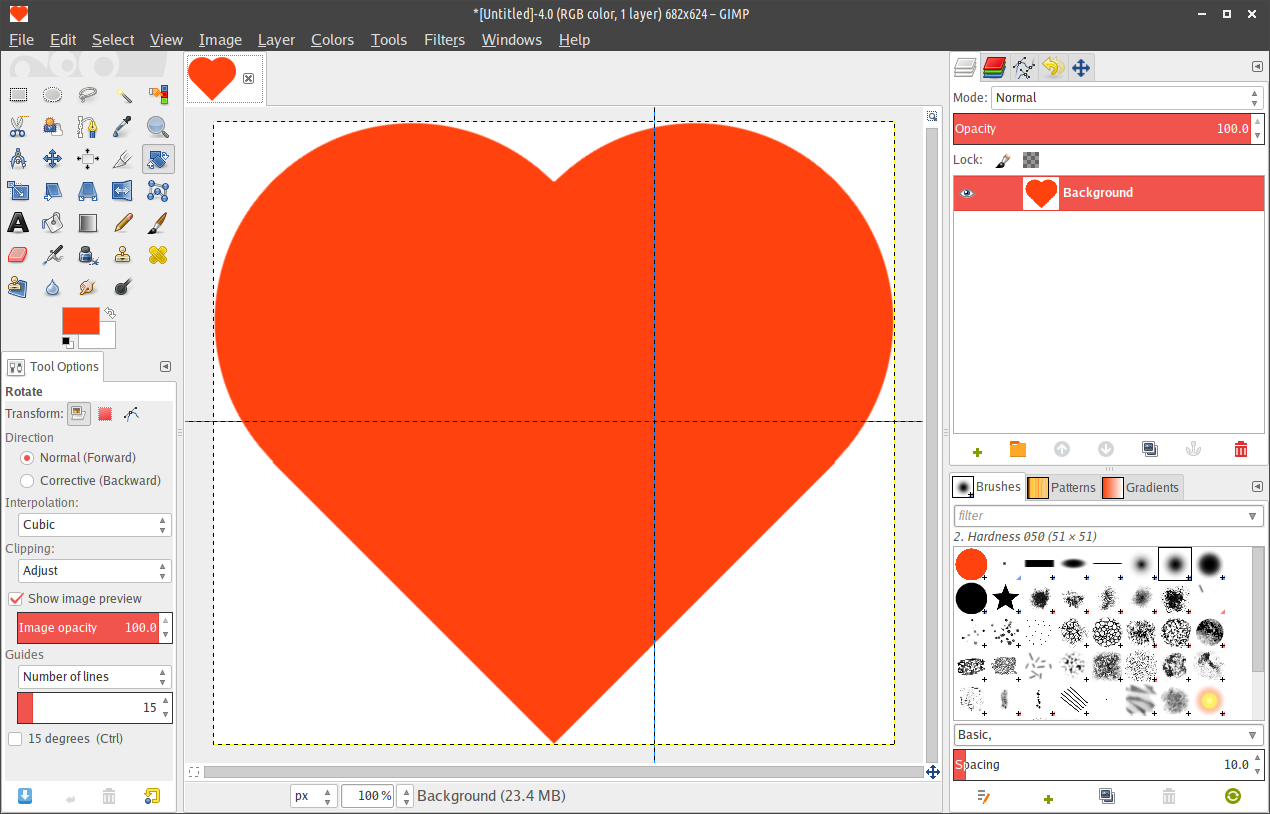
Video